Your first TeachBook using the GitHub template#
User types
This page is useful for user type 3, 4 and 5.
The template allows you to start your own Jupyter Book and hosting that book online without knowledge on Git, the Jupyter book package, python or anaconda. It doesn’t elaborate on the collaborative functionalities of Git or how to edit the book.
Features#
A github repository structure for making a Jupyter Book (
/book)An empty book containing an intro page on root, an example markdown page, an example jupyter notebook page, an example references page. and an example credits page. (
/book/_toc.yml,/book/_config.yml,/book/credits.md,/book/intro.md,/book/references.md,/book/some_content/overview.md,/book/some_content/text_and_code.ipynb)A file ready for adding references (
references.bib,/book/references.md)An example favicon (web browser icon) (
/book/figures/favicon.ico,book/_config.yml.)An example book logo (
/book/figures/TUDelft_logo_rgb.png,/book/config.yml)The configuration files set ready to make your Jupyter Notebooks pages work with live code using our sphinx-thebe extension and our recommended settings (
/book/config.yml)An example of setting up preprocessing your table of contents to hide certain draft chapters for eg. students (
_toc.yml)A file containing all the recommended software packages (
requirements.txt)A file containing the recommended license CC BY 4.0 (
LICENSE.md)Our GitHub workflow for publishing your book to GitHub Pages (
.github/workflow/call-deploy-book.yml)A gitignore file containing standard python filetype to ignore (
.gitignore)A readme containing information how to use the template, which can adjusted after using the template (
README.md)
How to get started#
How to use the template is demonstrated in the figure below, all steps are elaborated on in the following step-by-step tutorial.
Fig. 1 Demonstration for a public repository, video available here#
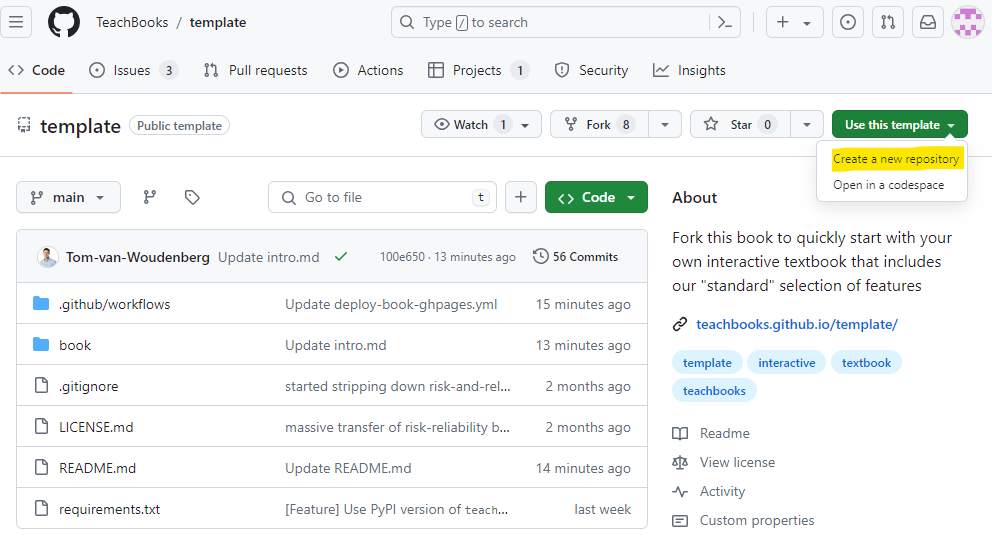
To get started making your Jupyter Book with our functionalities, use the template book as template:
Fill in a repository name, this name will be used in the future url of your book:
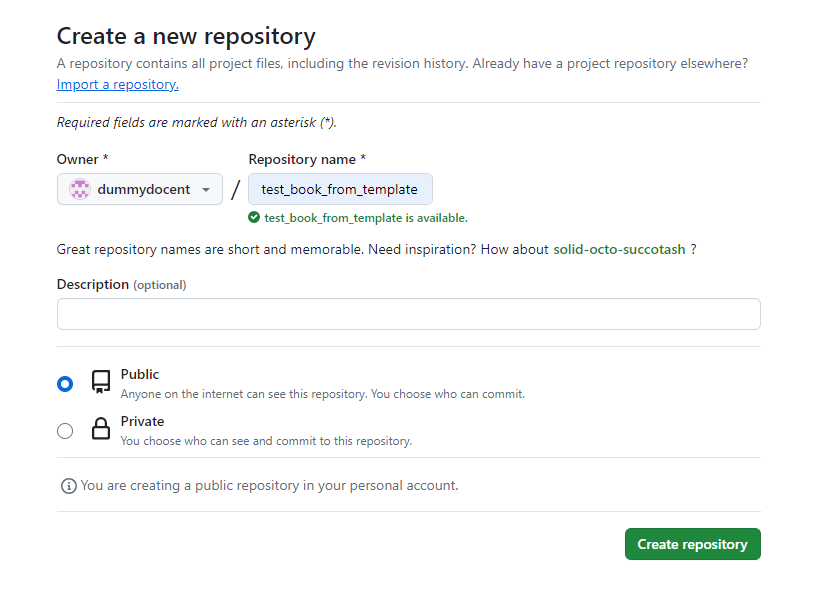
You can choose for
Privateonly if you’ve GitHub Pro, GitHub Team, GitHub Enterprise Cloud, or GitHub Enterprise Server. Otherwise, you won’t be able to publish your book online.(Only required for private repositories:) Create a Personal Access Token (classic) with at least the scopes
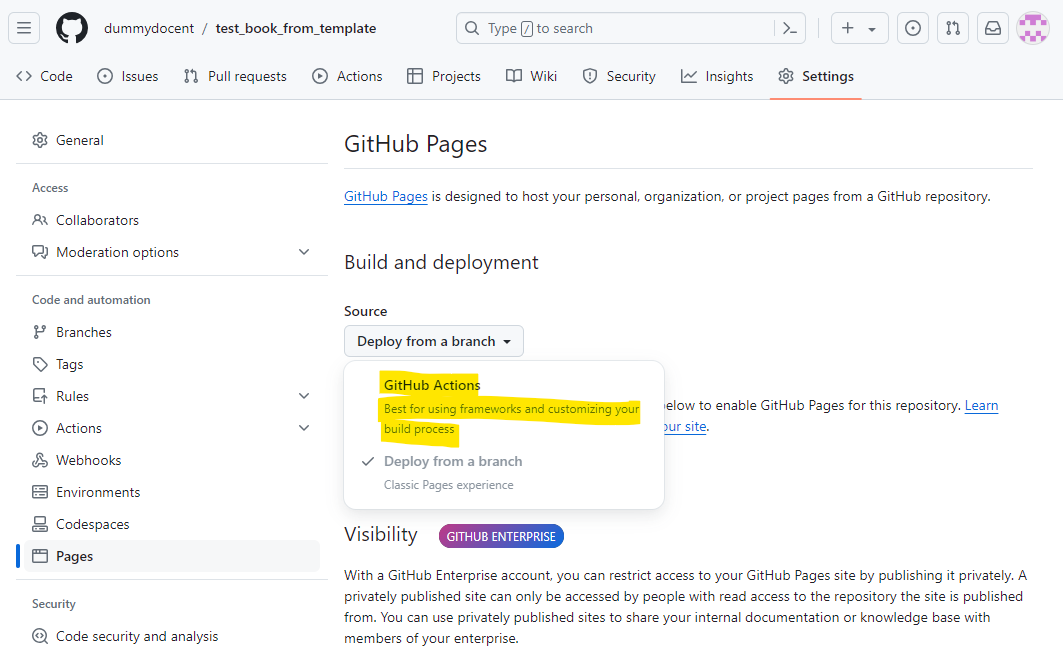
repo,read:organdgistas described in the github documentation, and add this token with the nameGH_PATas aRepository secretorOrganization secret(Settings>Secrets and variables>Actions>Repository secretsorOrganization secrets).You need to activate GitHub pages so that your website is published to the internet. As long as you don’t do this your book is not published online. Actually, now that you’ve taken this template our workflow tries to publish it to GitHub pages, which you didn’t have the chance to activate yet. That’s why you probably received an email with ‘call-deploy-book: Some jobs were not successful’ and you see the failed job under
Actions-All workflows-call-deploy-book-Initial commit. You can activate GitHub pages by setting the source for GitHub pages to GitHub Actions underSettings-Pages-Build and deployment-Source-GitHub Actions:
Make an edit to the book by editing and committing changes to one of the files in the
book/subdirectory (available underCode). Now checkout the progress of the publishing workflow underActions-All workflows-call-deploy-book-<the most recent workflow run>. Remember, the first commit which is there has failed because GitHub Pages wasn’t activated at the time ofInitial commit, you could also re-run that job if you don’t want to make an edit. You can do so by running the workflow fromActions-All workflows-call-deploy-book-Initial commit-Re-run all jobs-Re-run jobs:
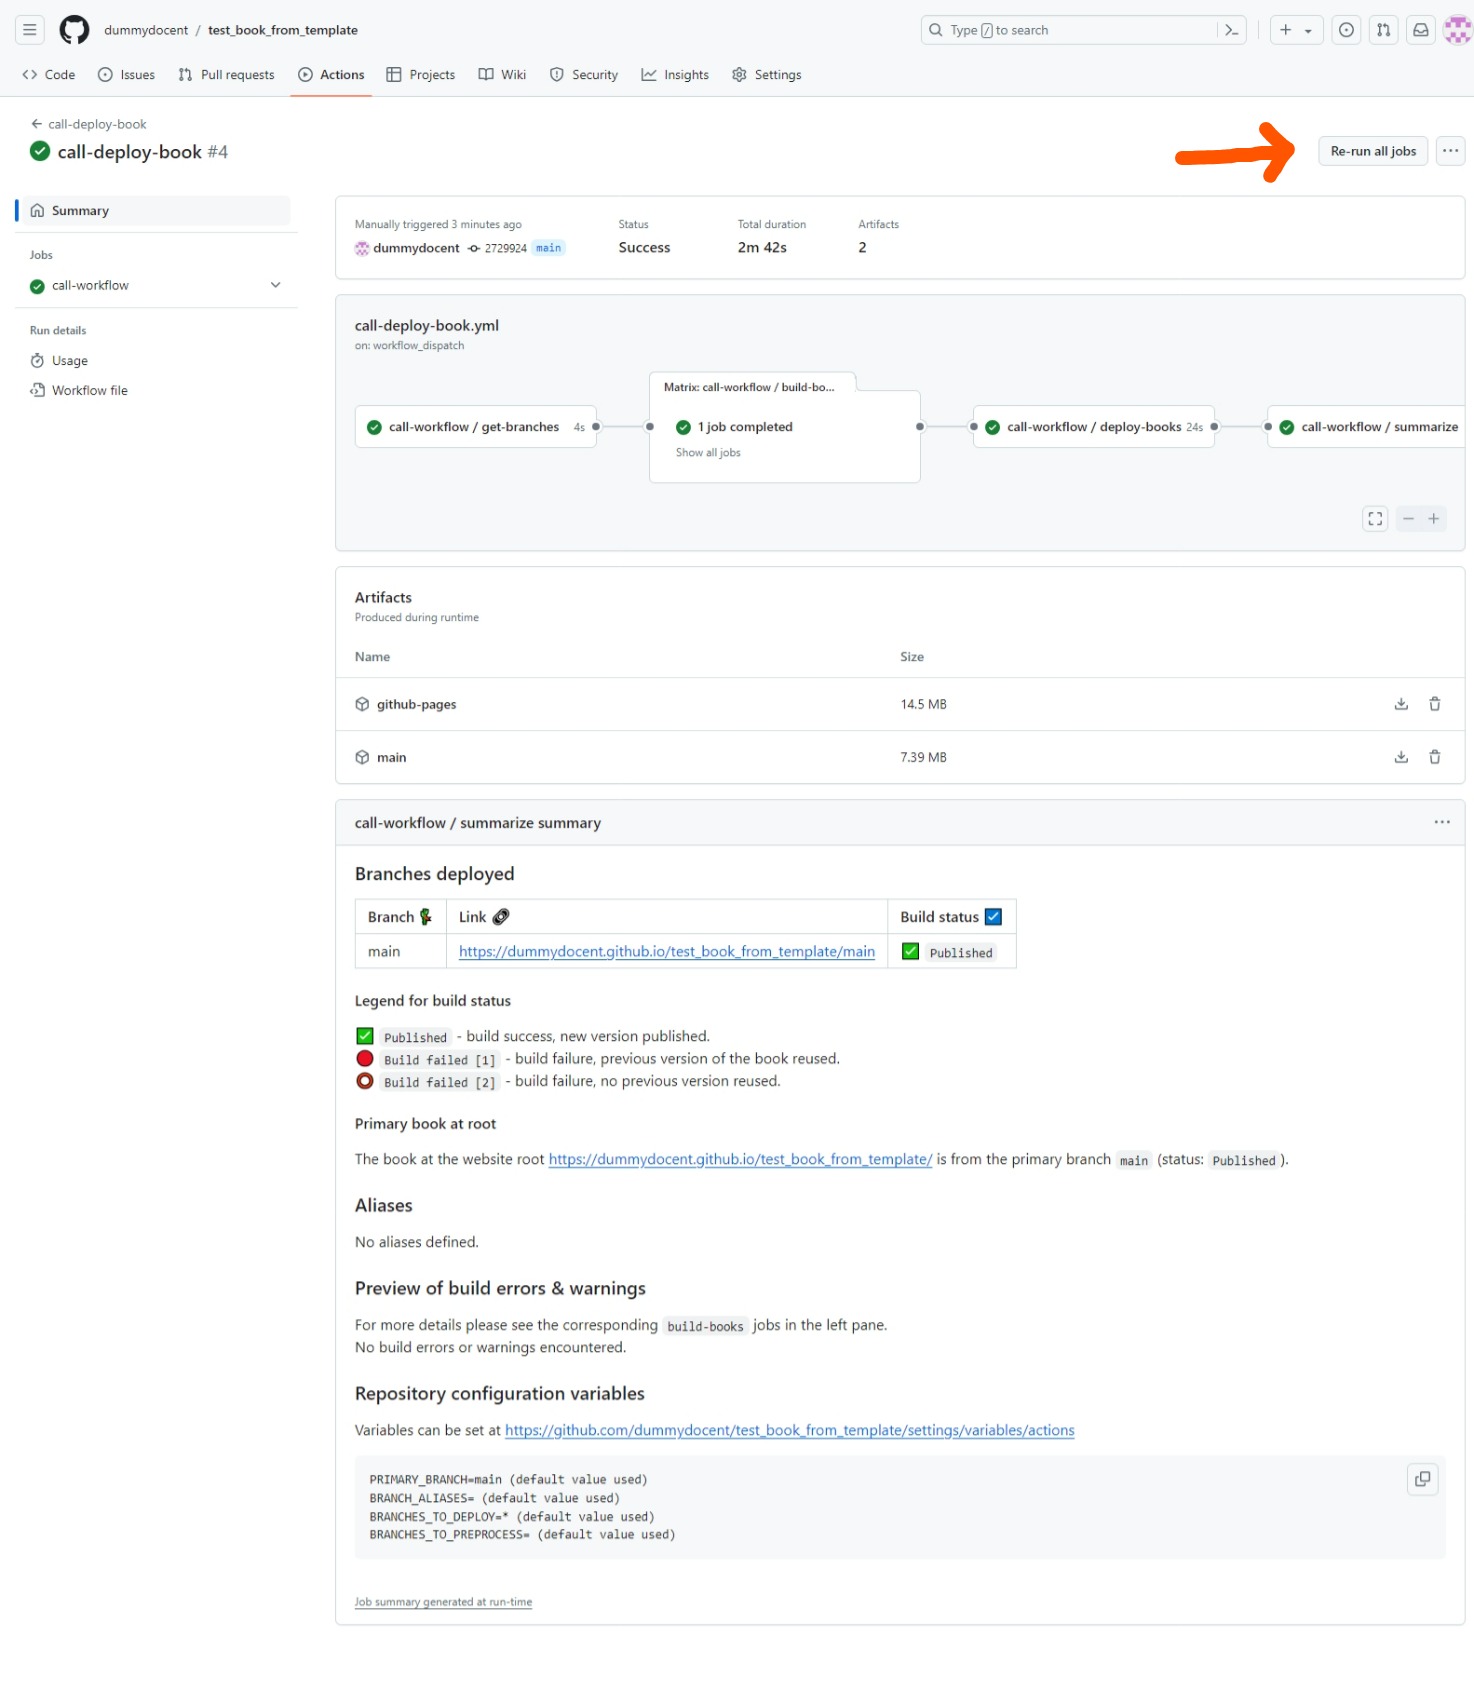
When the workflow has finished, visit your build book at
https://<username or organiszation_name>.github.io/<repository_name>(case sensitive). For our example it is https://dummydocent.github.io/test_book_from_template/ for the shown repository. These links are visible in the action’s summary as well, as shown in the figure of step 4.
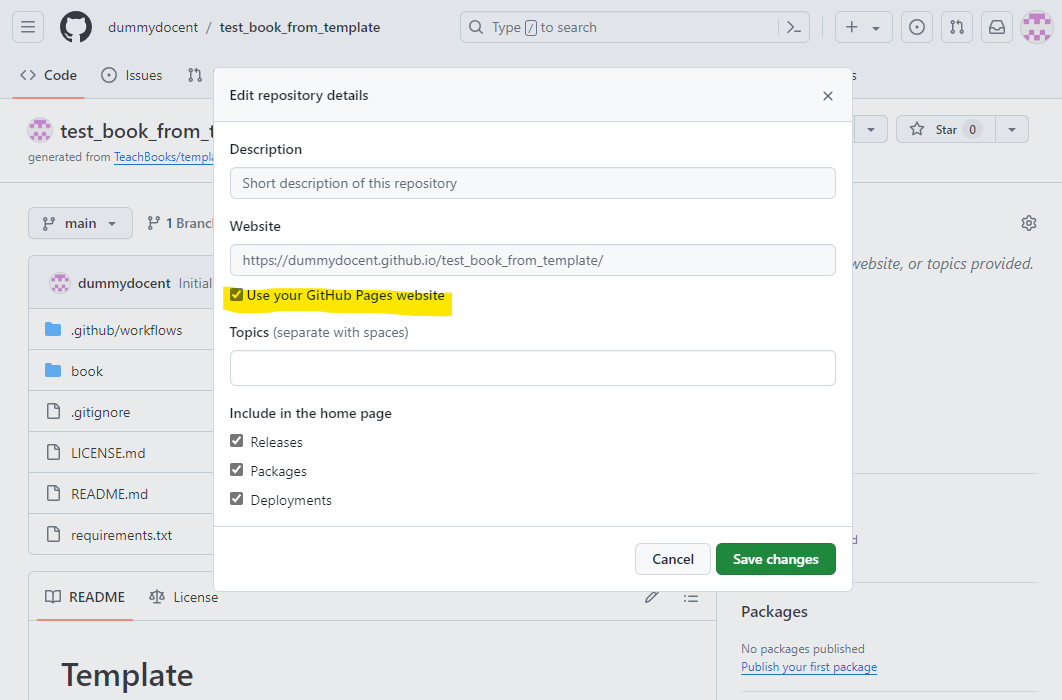
Additional tip:
Set the repository website as your GitHub Pages website under Code- About - - Website - Use your GitHub Pages Website