Getting started after installation#
After installing Anaconda and setting up the environment, start the Navigator and select the optimization environment. This can be done on the top of the screen at All application on base (root): change base (root) to optimization. Or in the left tab under Environments, click optimization.
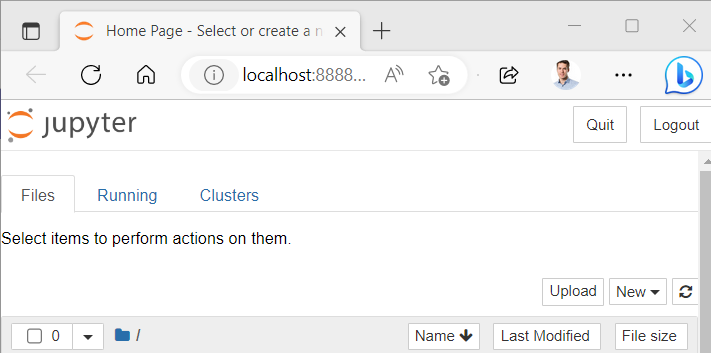
Then, launch the Jupyter Notebook from the list of applications under home, which will open the Jupyter Notebook dashboard in your webbrowser (starting in your Documents folder on Windows and your home directory on a Mac):

Fig. 1 Jupyter notebook start page#
Use the dashboard to surf to the directory where you stored your Notebooks (you can only surf to lower directories not higher directories) and click on the one you want to open. Launch a new notebook by clicking on the “New” button and then selecting “Python 3”:
Working in a Jupyter Notebook#
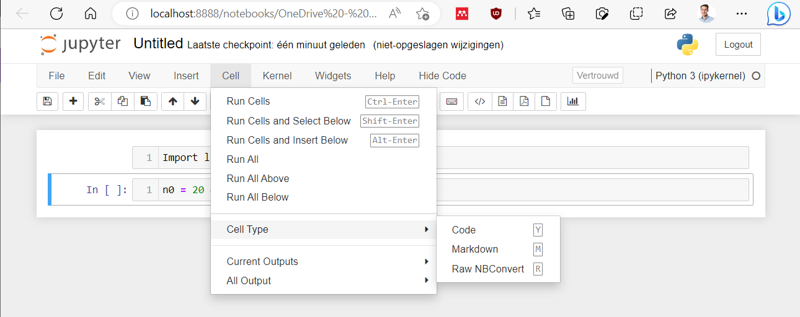
Notebooks consist of cells which can contain code or text/figures (in markdown language). You can choose this cell type for each cell:

Fig. 2 Jupyter Notebook cell types#
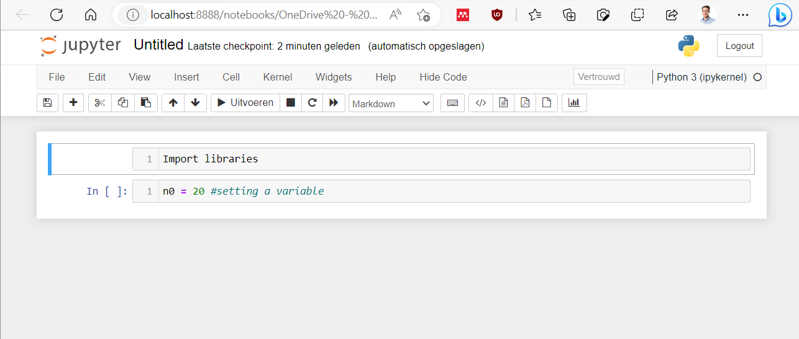
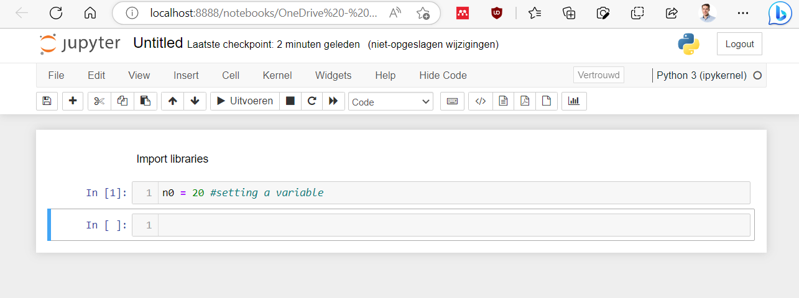
Both code and text cells can be run by clicking execute or pressing shift + enter. Code cells run, resulting in a counter between the square brackets, while text cells are just rendered:

Fig. 3 Before running cells#

Fig. 4 After running cells#
Tutorial Python#
If you’ve no experience in using Python, please work through this material on your own. Specifically, for this course you’ll need:
Basics and Plotting
Arrays
Functions
Bugs
